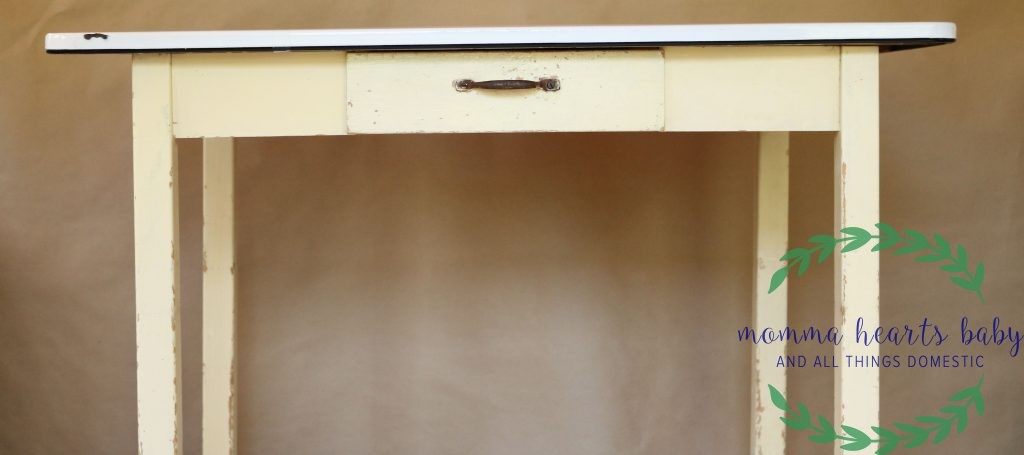
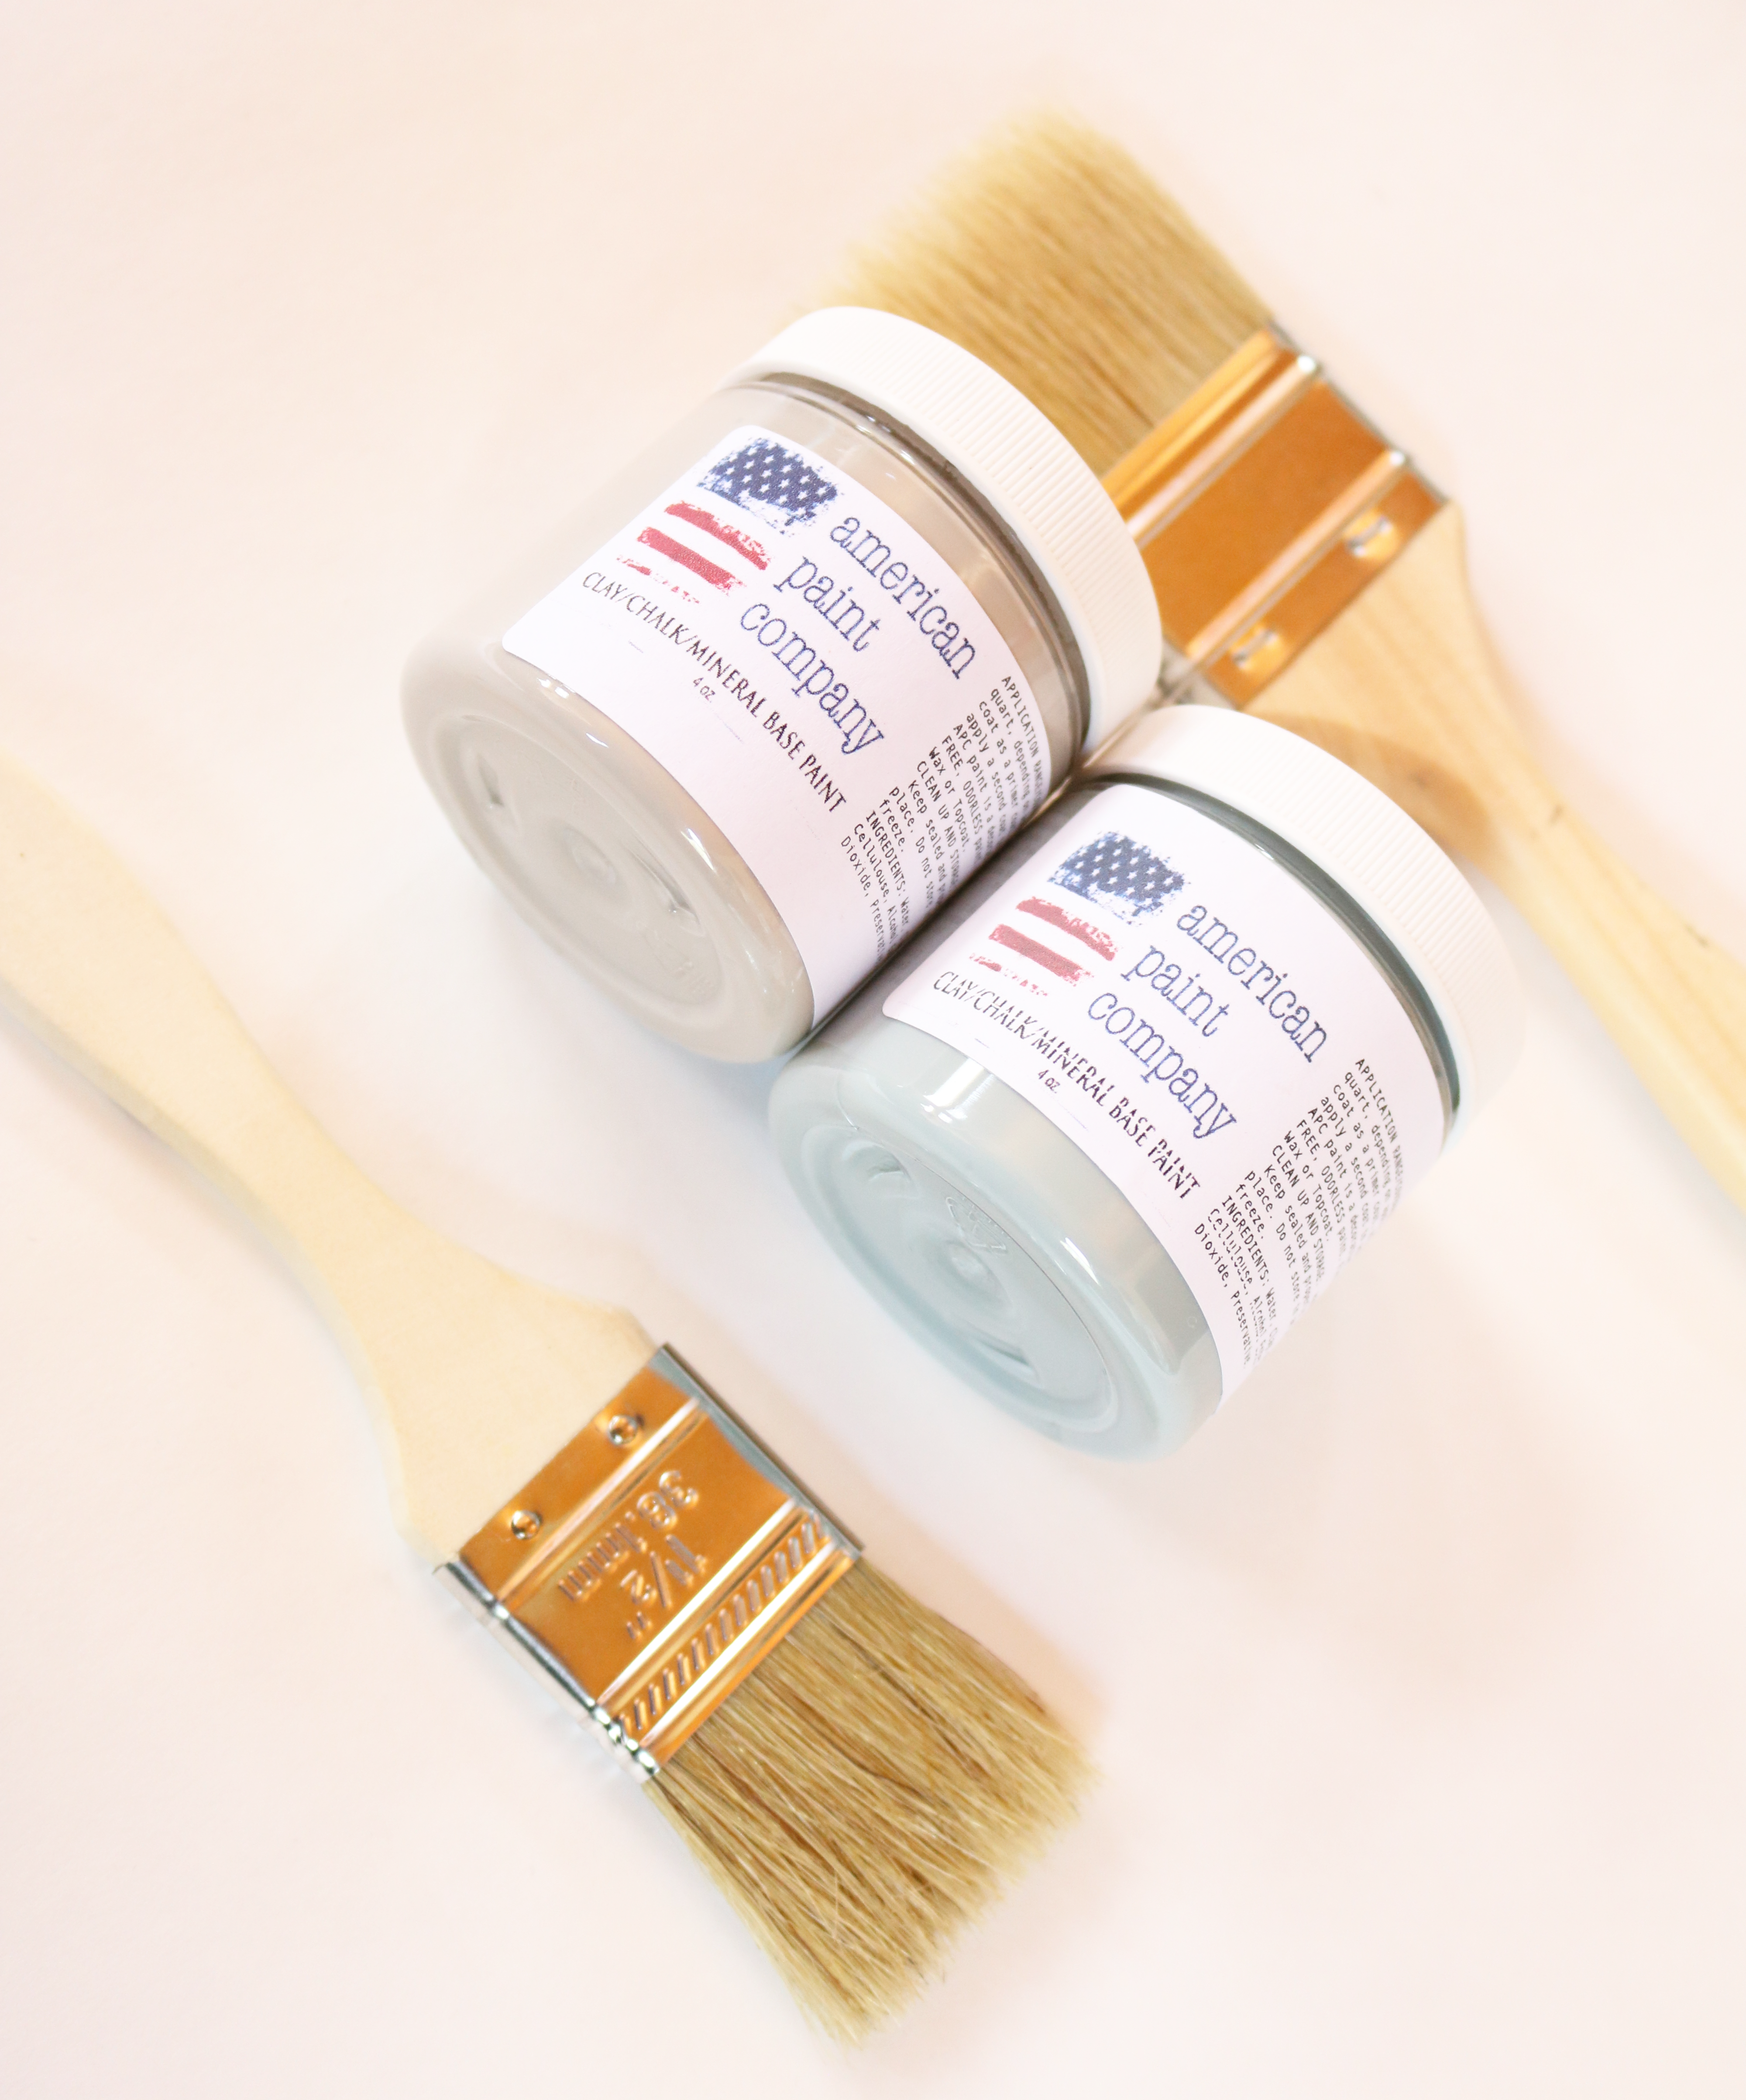
I found this old baking table at an estate sale. For a while it served its purpose as my coffee station but it needed some love and restoration. We are remodeling our kitchen soon and I decided that painting the baking table was a good way to get the ball rolling. I went to a local paint store and labored over colors. I ended up choosing American Paint Company’s Voyage (blue) and Sack Cloth (Greige). These colors complemented the soft yellow of the original paint so when all three colors came through they blended nicely worked well together.
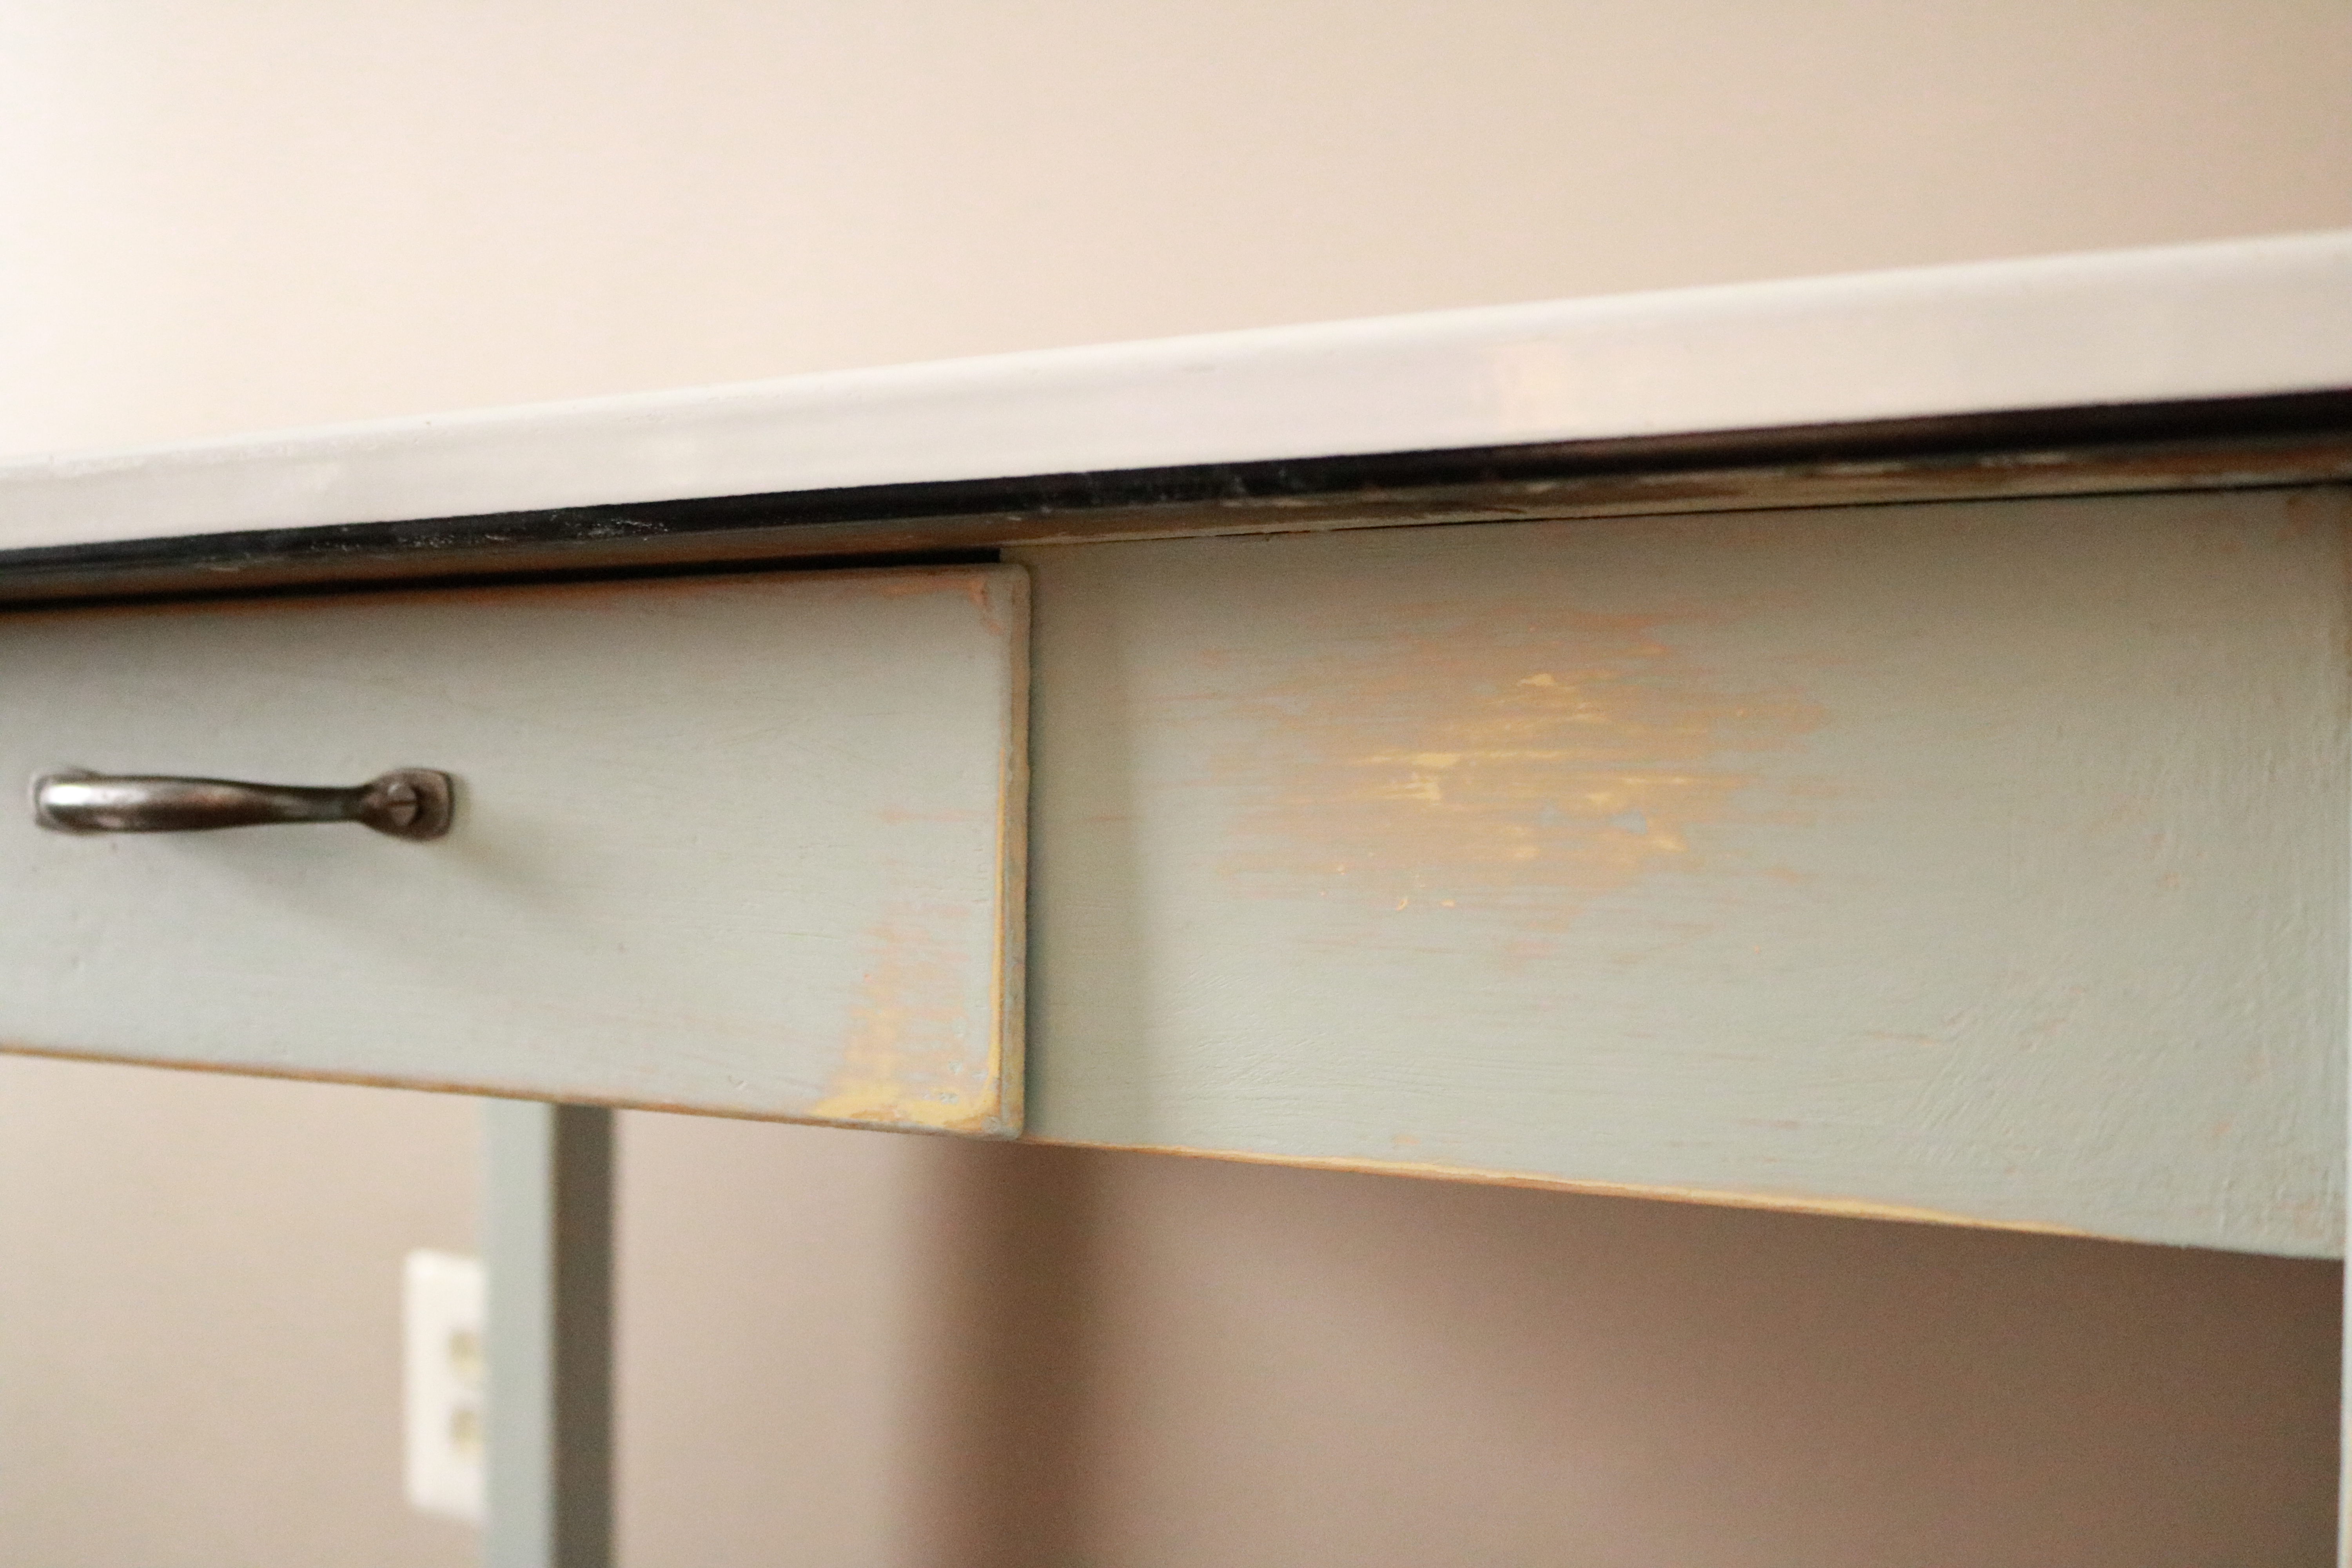
This is what the table looked like before:
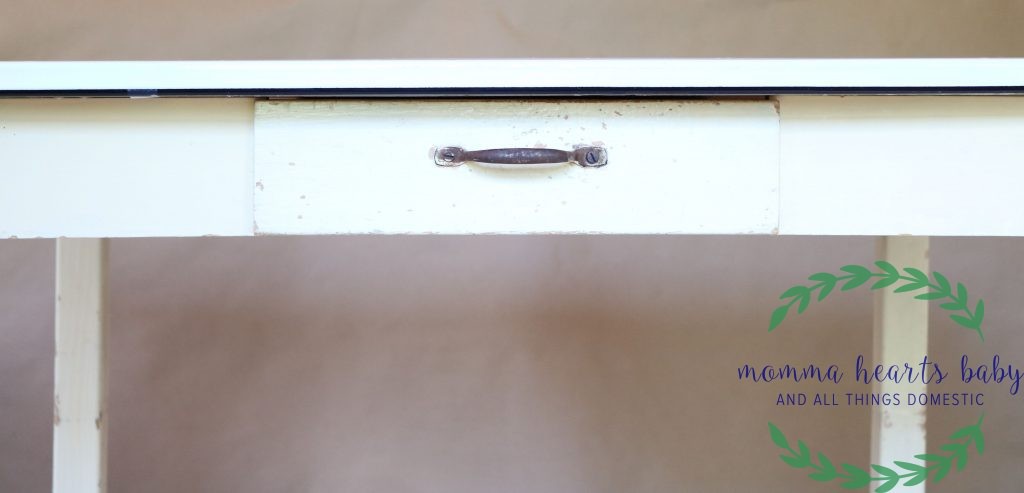
and closer:
What you’ll need:
Drop Cloth
Soapy Water
Paint brush
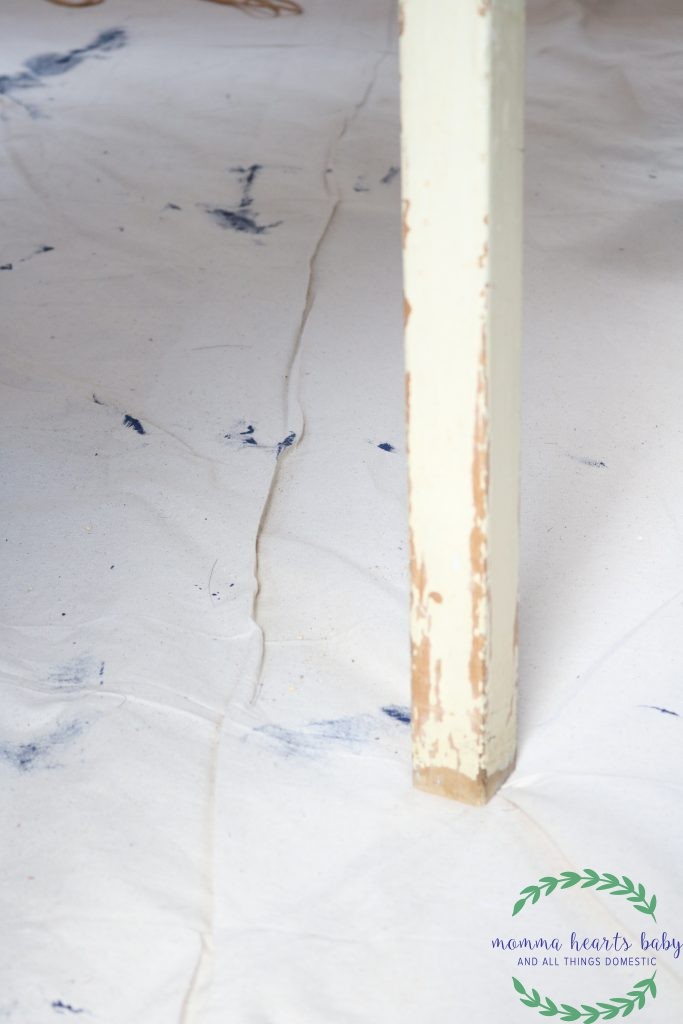
I started the project by preparing my work space. I put down a drop cloth and put my table on furniture coasters since there was carpet under my drop cloth. Furniture coasters raise up the table and make painting the lower portion of the table legs easier because there was carpet under my drop cloth.
While the majority of the time you don’t need to sand before applying chalk paint, sometimes you do. This was one of those times. I decided to sand the piece because when I ran my hand over the original chipped paint, it was rough. Had I just painted it without any prep work it would have shown through the chalk paint. I quickly sanded down the piece with 220 grit sandpaper. Keep in mind that when you’re finishing old pieces the original paint might be lead based.
Before Sanding:
After Sanding:

Next, I wiped down the furniture using an all purpose Mrs. Meyer’s spray. Soapy water is a great alternative.
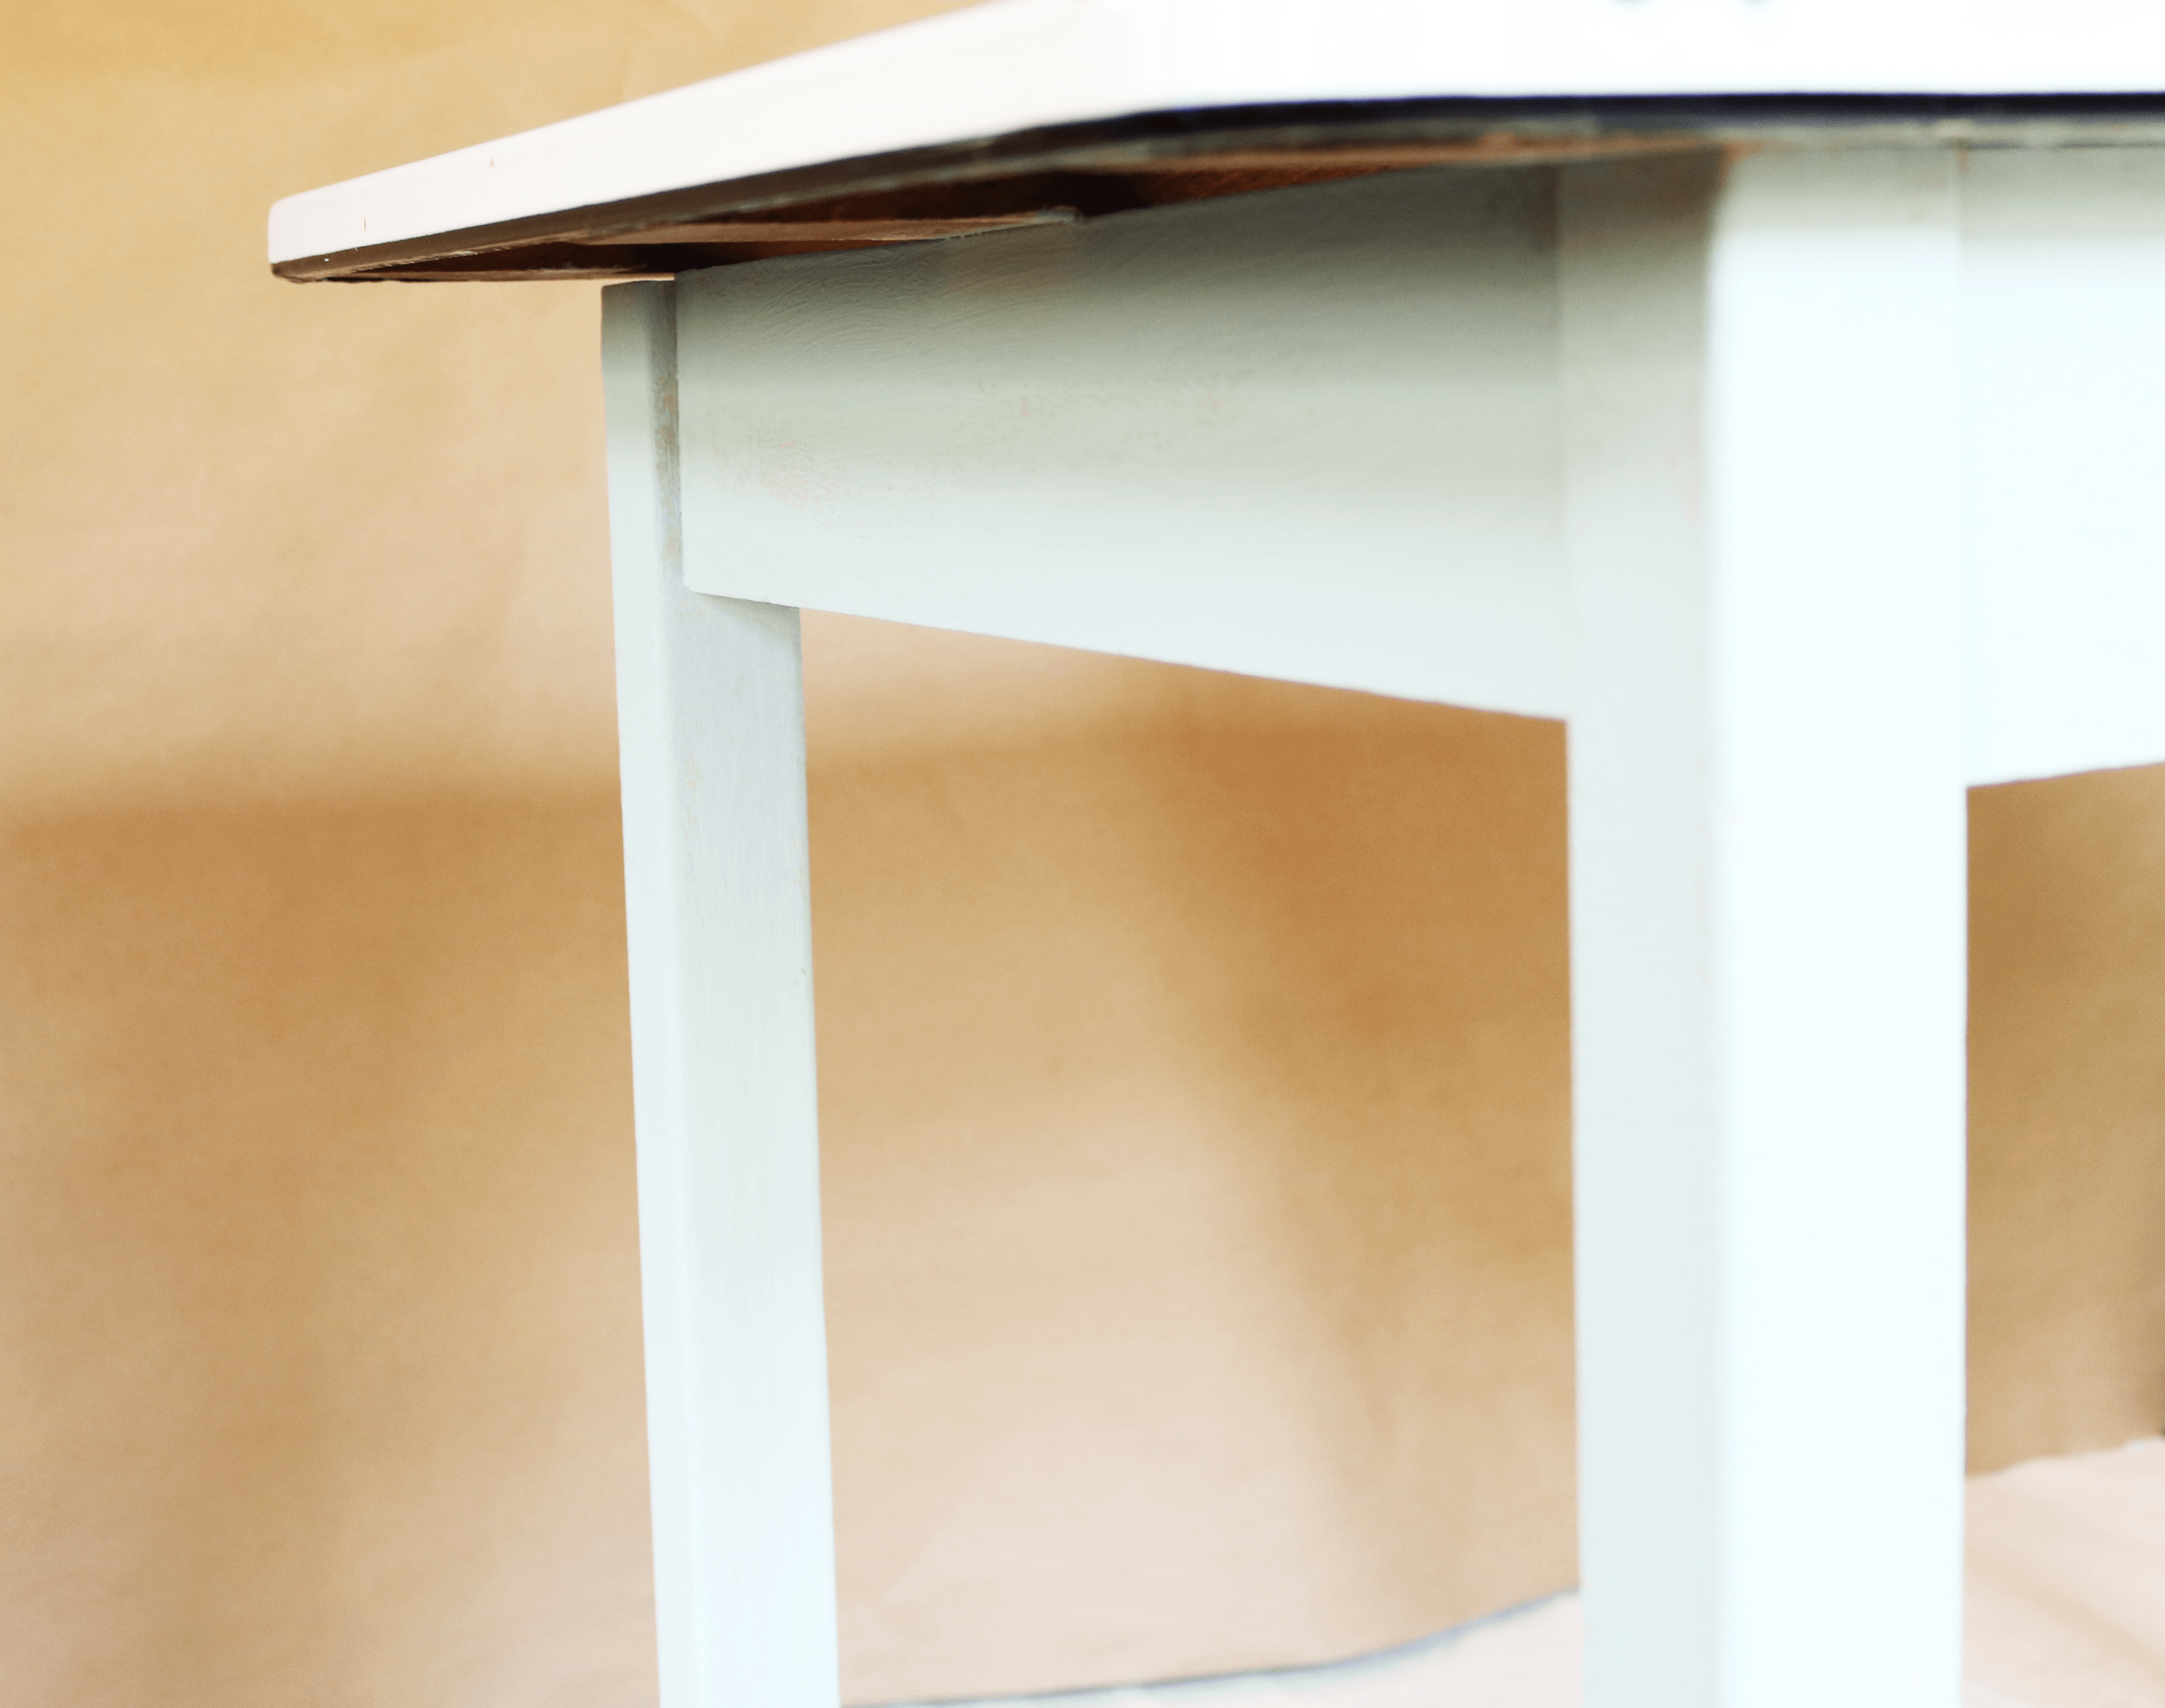
All of the prep work was now complete and it was time to paint. I painted the baking table with two coats of the greige color (Sack Cloth).
Once the first two coats were dry, I applied one coat of the blue color (Voyage). * Next time I use chalk paint I’ll be sure to thin the paint as I’m applying it. This can be done by dipping the brush in water as you’re painting, or lightly spraying the piece with a spray bottle as you are painting. I didn’t do that and there were sections of my piece that came out too thick.

Next came the fun part. I took sandpaper and distressed the piece. I focused on areas that looked like they should be worn after a lot of use: the corners and at the bottom of the legs of the table. I also used a variety of grits of sandpaper: 120,220, and 440 to get the different effects on the paint.
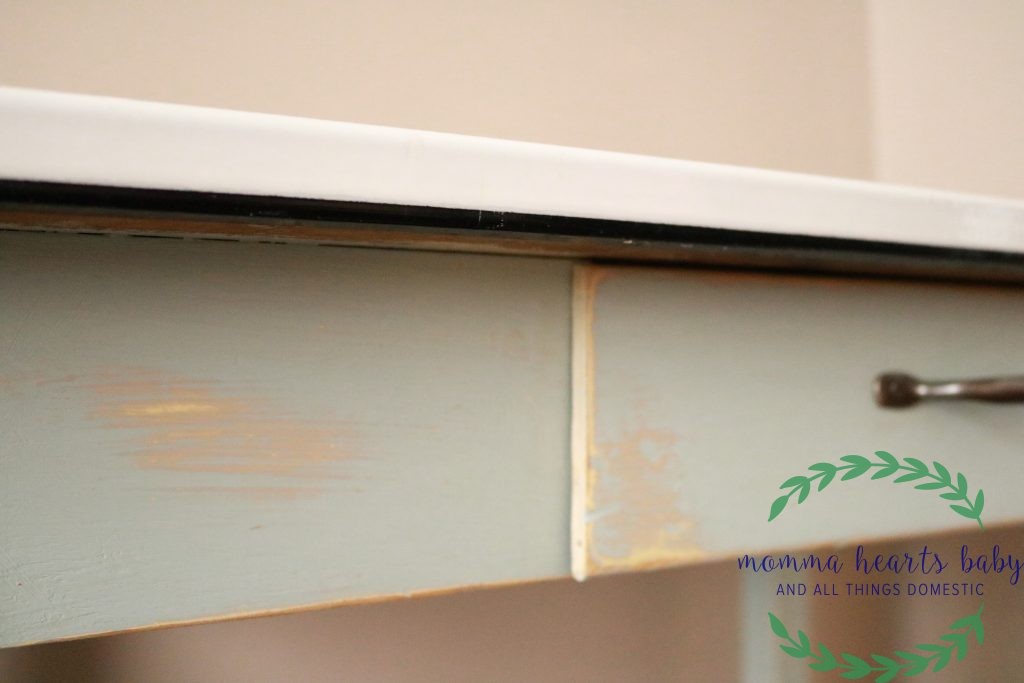
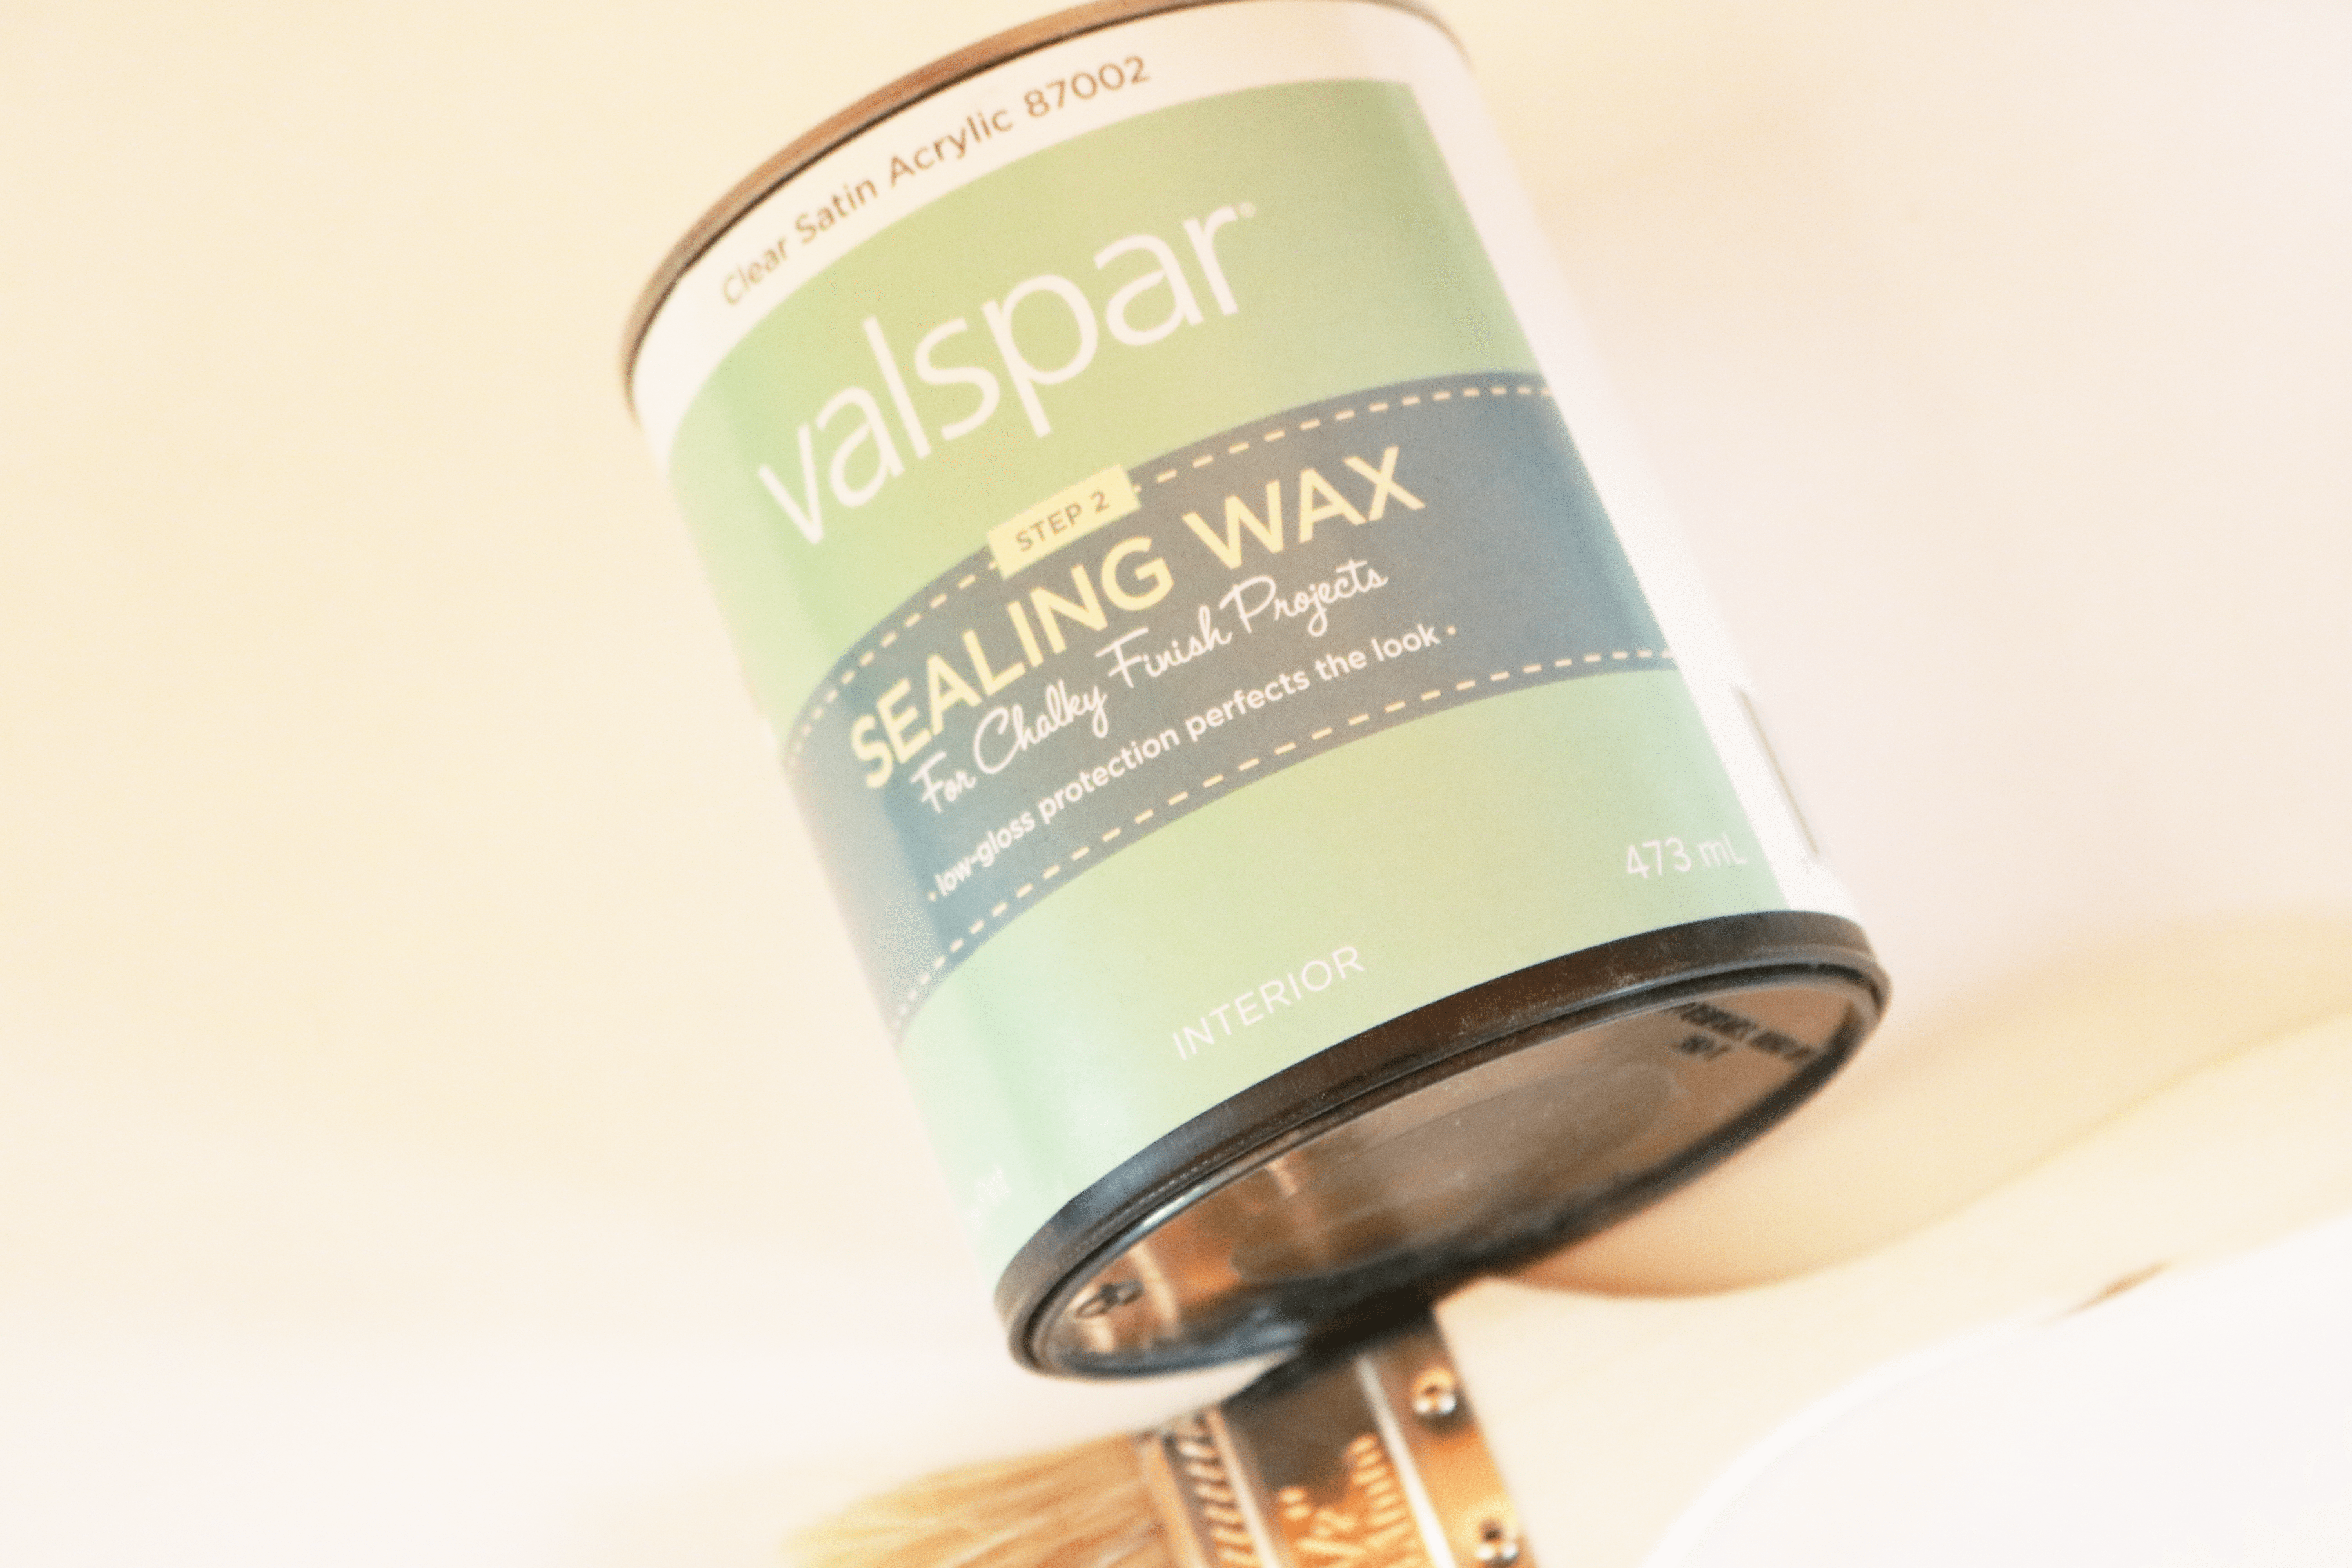
Since the table was dusty from sanding it, I wiped it off with a damp paper towel. I applied a clear wax once the paint was dry. I used a paint brush but you can also use a cloth. You only need a small amount of wax. The clear wax gave the semi-glossy finish I was going for. If you’re looking for a more aged look, there are antique waxes that you can use as well.
Keep in mind that while the wax will feel dry to the touch in a few hours, it will not be fully hardened for 30 days.
Finally, I polished the original hardware using a wire wheel (like this) attached to a drill and put it on the drawer.
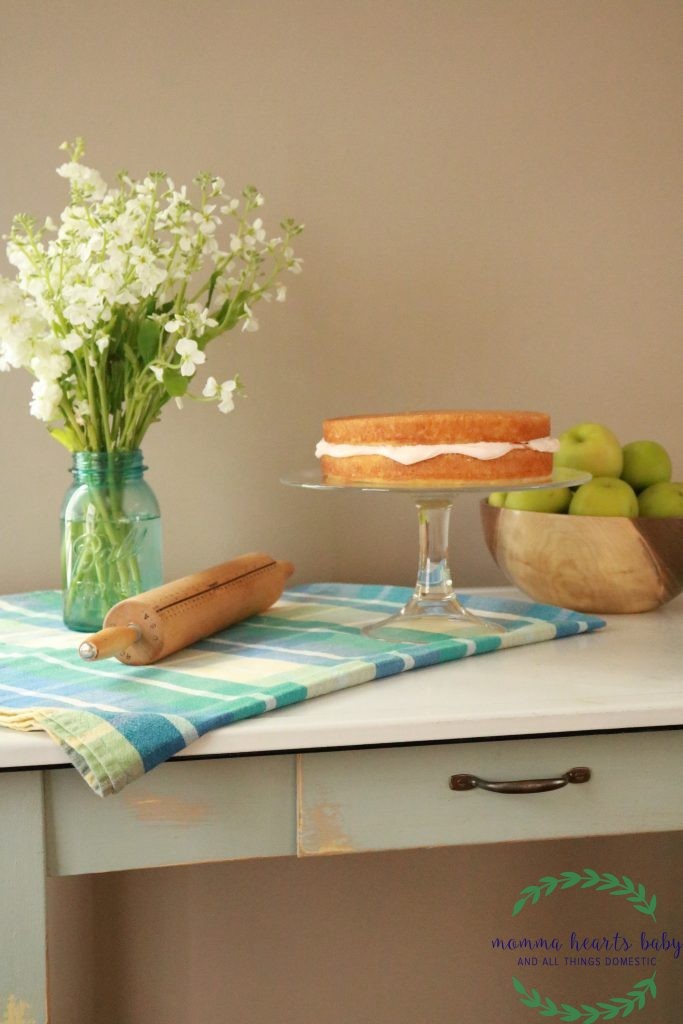
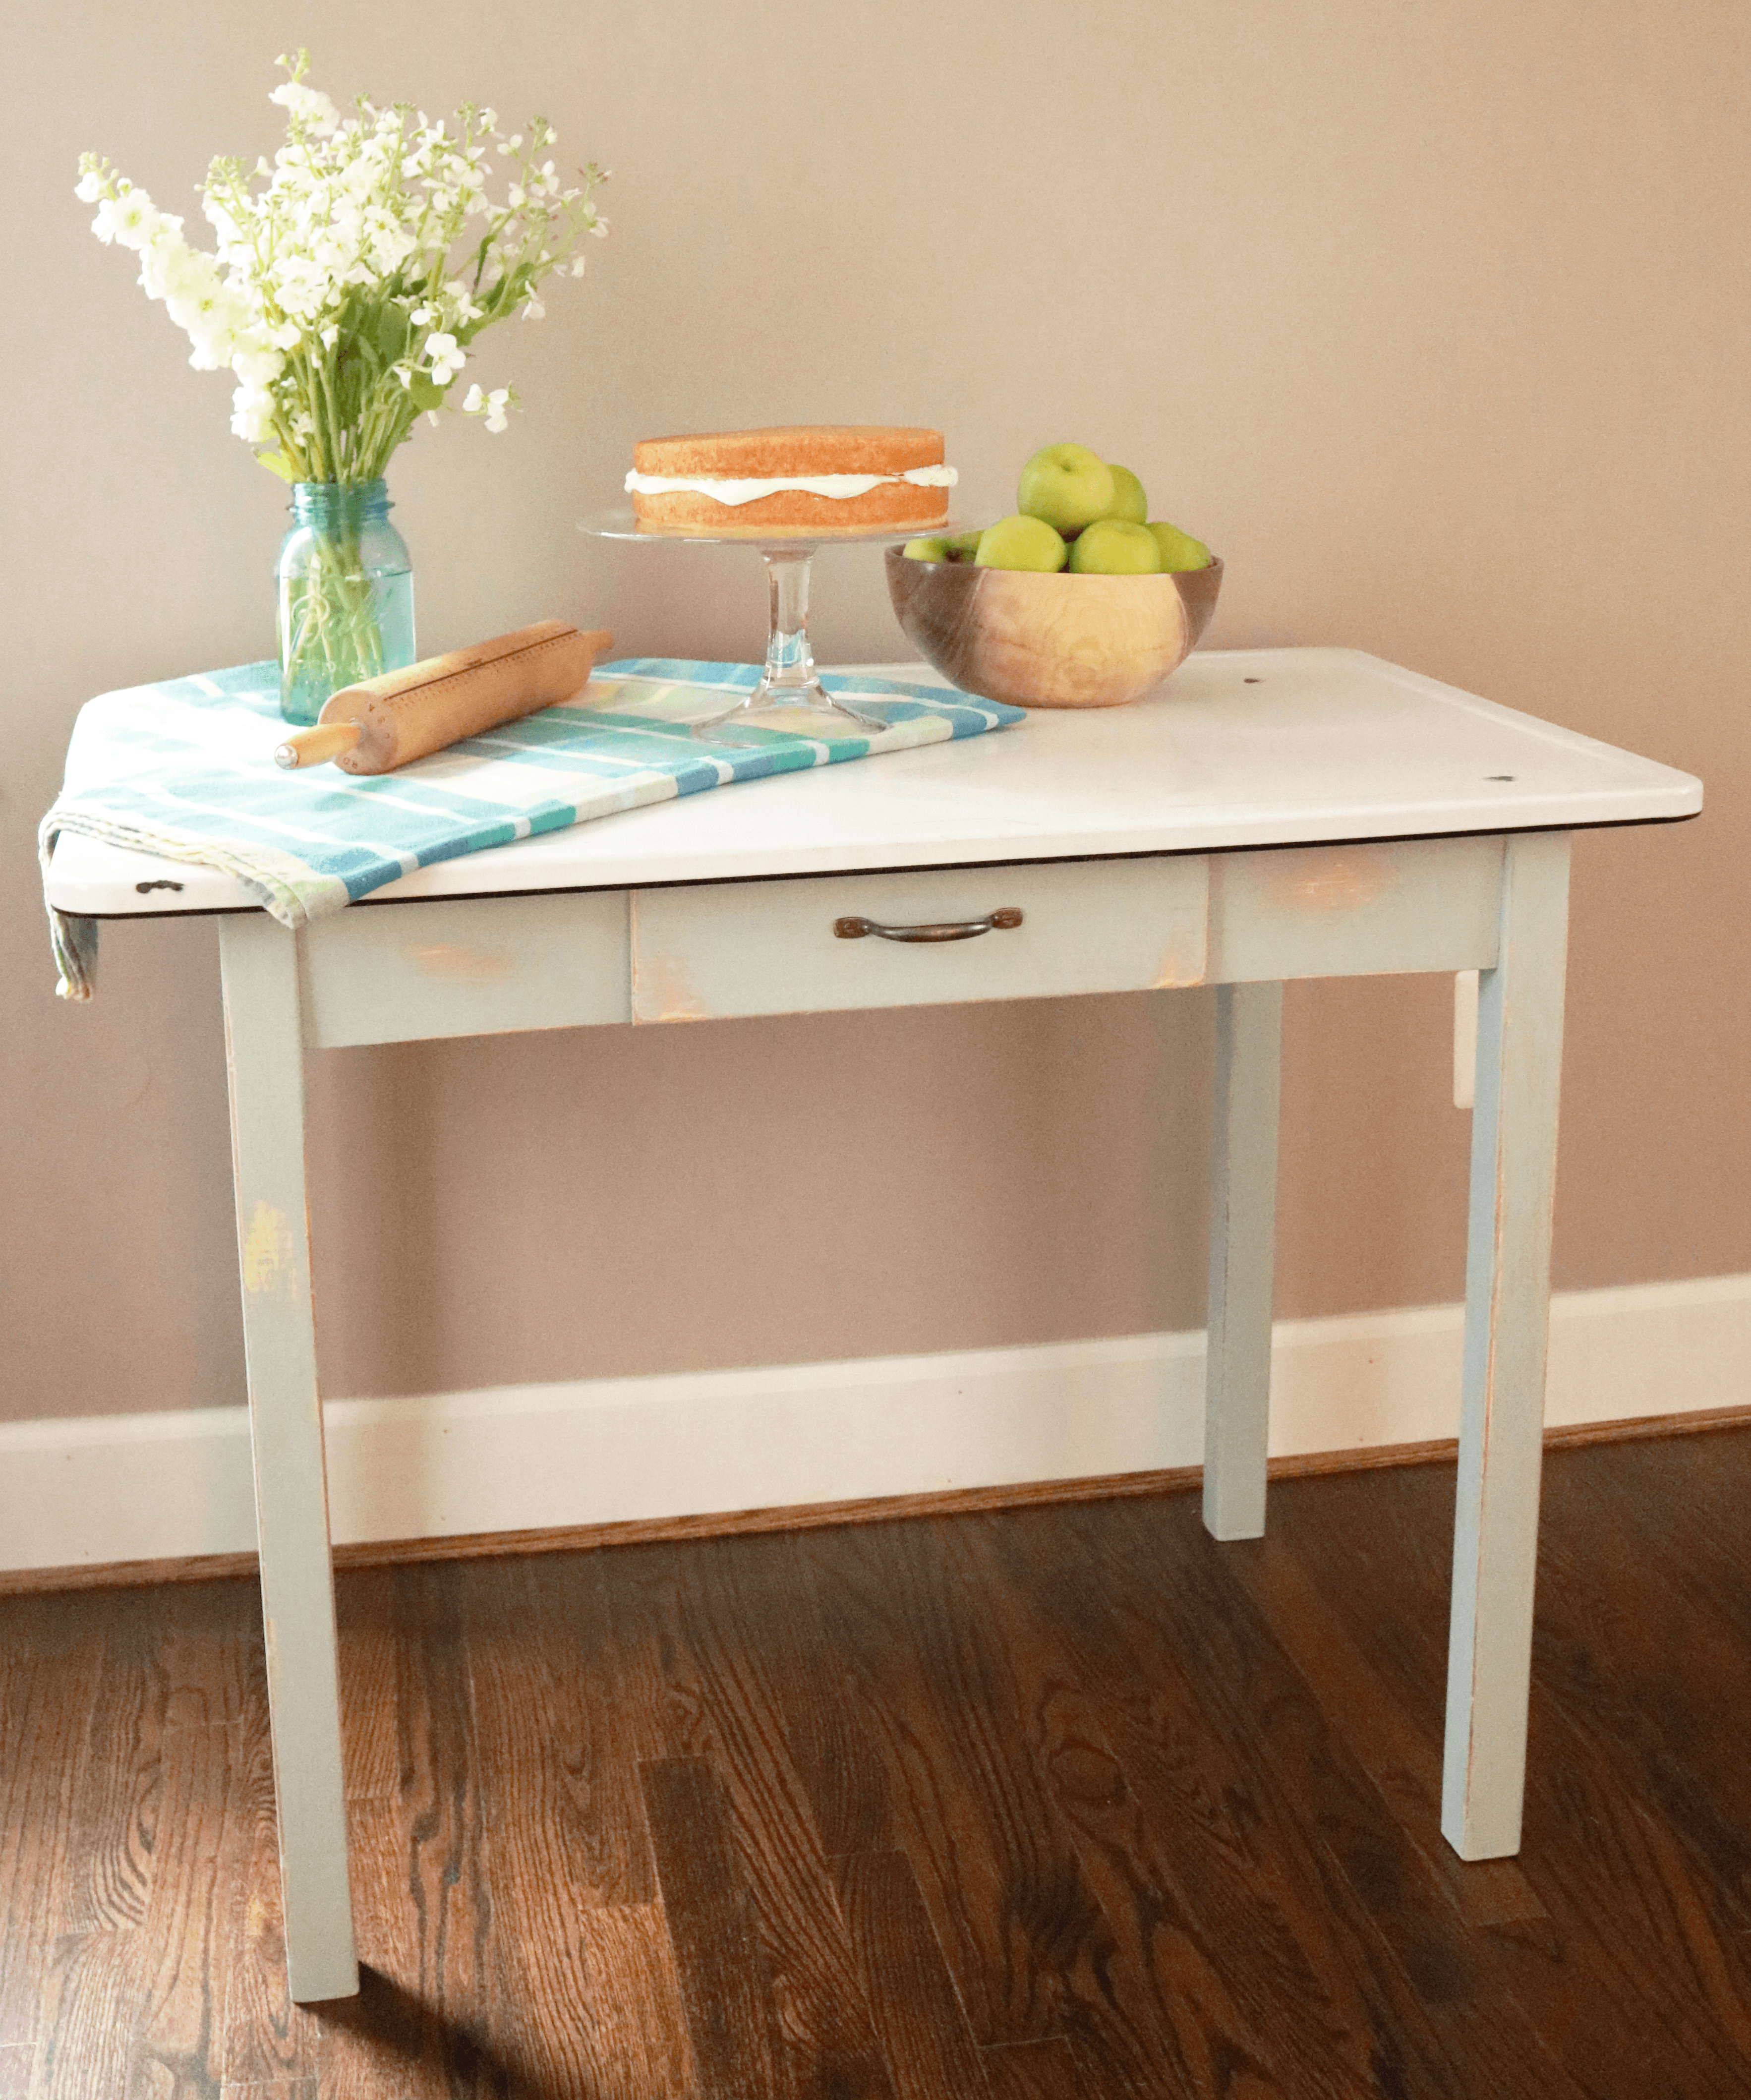
My first chalk paint experience was a success. The paint was very forgiving and there was very little technique involved in making the piece look good. Before I was even done with this project I started searching Craigslist for new pieces to finish. I’m hooked!